
Navigation
What are we doing ?
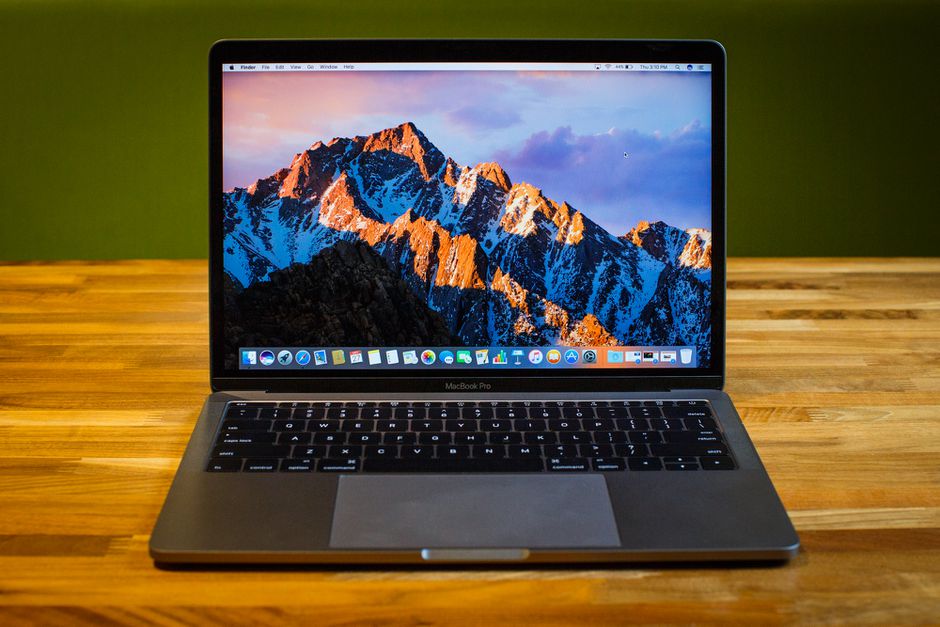
I happen to have an old MacBook that isn’t being used, and what better way to use general purpose hardware than for Bitcoin. We are going to repurpose this old computer into a Bitcoin machine that will run all sorts of Bitcoin applications.
Different Full node options
Running a Bitcoin full node has never been easier than it is today.
You can find a handful of companies that sell dedicated hardware with simple to use interfaces. These are plug and play devices that get you interacting with Bitcoin quickly.
Popular Plug and Play Full Nodes


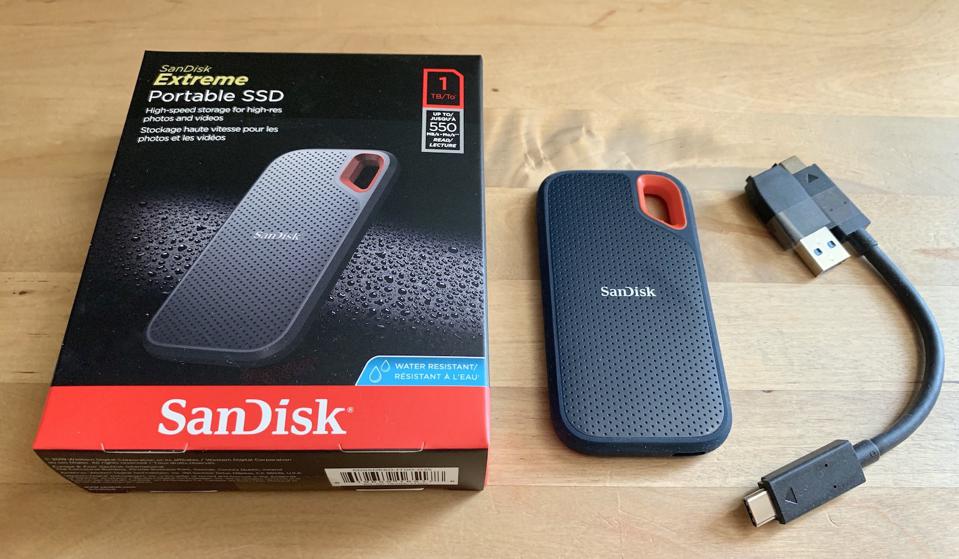
You can buy a single board computer like a raspberry pi paired with a 1TB SSD and DYI a full node. There are software projects that make this process easier, but it requires a bit more effort than buying a plug and play node. A couple examples below.
You can run Bitcoin core on your primary computer, but that comes with some practical trade offs. You may not want or be able to keep your primary computer running 24/7.
Finally, you can repurpose an old computer strictly for the purpose of running Bitcoin Core and various Bitcoin related applications.If you have an old computer lying around, there is no better purpose for it than all things Bitcoin.
This bitcoin machine should not be used to hold the majority of your bitcoin hodl. any private keys on this device should be considered less secure than cold storage.
Ingredients
Clean Install
This guide will be specifically for Mac computers and operating systems. You can effectively do exactly the same thing with any old Windows or Linux computer.
Download macOS
I suggest using macOS Catalina. At the time of this writing macOS Big Sur does not allow 3rd party firewalls to filter outgoing traffic. If you want to implement advanced privacy measures like a software firewall, Catalina is your best bet.
We will outline additional privacy measures you can take with software based firewalls, later in the guide.
Links to versions below
use Safari browser to successfully load the link in Mac App store.
The file will be downloaded to your Applications folder.
After downloading the OS file, we need to create a bootable USB drive to install it on the MacBook.
Format USB Drive
- Plug in the USB drive.
- Go to Applications > Utilities.
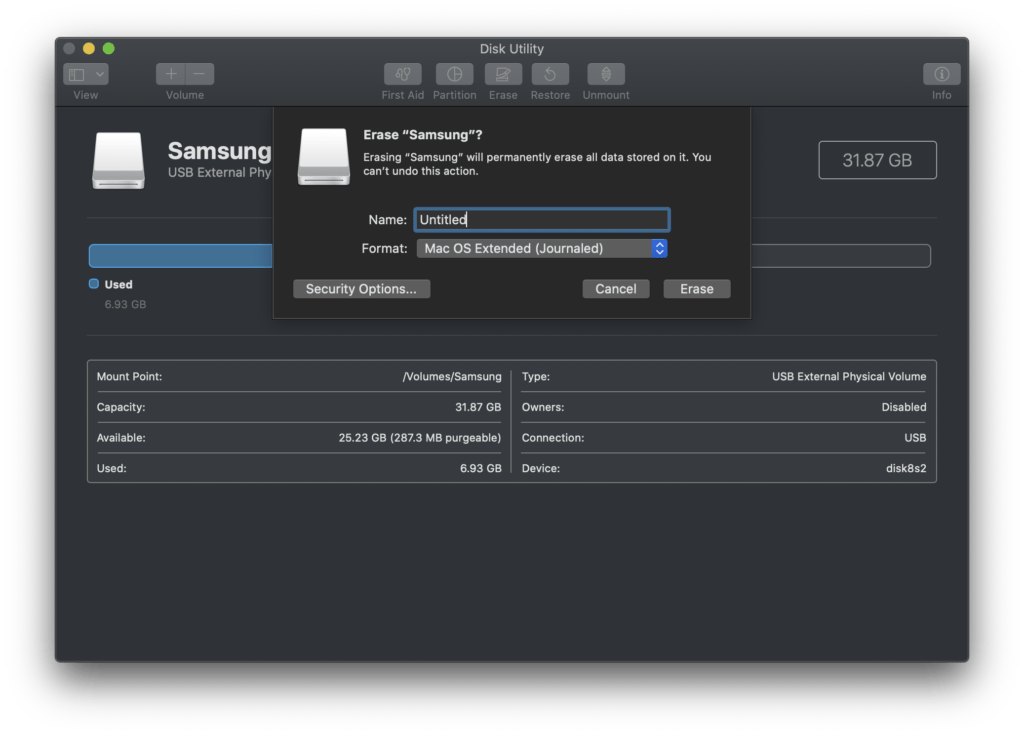
- Open Disk Utility.
- Select the USB drive and click Erase. (The name of the disk needs to be “Untitled”, if the Terminal commands below are to work, so rename it if necessary.)
- Select Mac OS Extended (Journaled) as the format type.
- Choose GUID Partition Map from the Scheme options (if you don’t see this you are in the wrong view – you need to select the external drive, not the container below it).
- Click Erase.
- Disk Utility will create the partition and set up the drive (it can take a while).
- Click Done.
Create Install Media
Now we have to use terminal to create an installer USB drive, which we will use to install the OS.
Now we have to use the mac terminal to create a installable USB drive, which we will use to install the OS.
- Insert the USB drive we formatted in the previous step.
- Open Terminal, which is in the Utilities folder of your Applications folder.
- Type or paste the following commands in Terminal. These assume that the installer is in your Applications folder, and “Untitled” is the name of the USB flash drive you’re using.
sudo /Applications/Install\ macOS\ Catalina.app/Contents/Resources/createinstallmedia --volume /Volumes/UntitledIf you’ve downloaded another version of macOS, just find the install file in Applications folder and drag the file into the terminal to populate the files path – then paste
createinstallmedia --volume /Volumes/Untitled
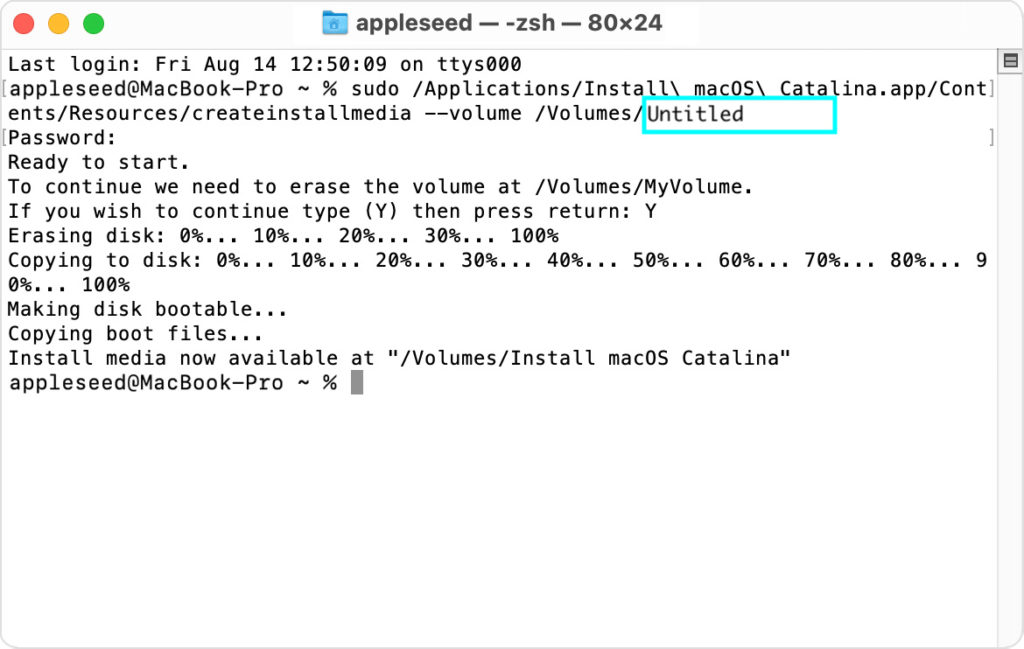
Terminal will ask for a password. This is your user password.
You won’t see characters appear as you type it in, that’s fine.
Terminal will warn that it is about to erase the drive. If you want to continue press Y and then Return. The process can take a few minutes.
Now that the OS is installed on the USB drive, you can use it to install a fresh copy of macOS.
Erase and Install
Before you restart the computer , make sure you log out of iCloud, iTunes and turn off find my mac.
- Restart the computer with the USB connected and hold down the Option/Alt key while it is booting up.
- Your Mac will display the Startup Manager, click on your external drive to select that as the startup disk. Your Mac will start up in Recovery Mode.
- Choose to install your chosen version of macOS from the external drive.
- Select Disk Utility.
- Select your Mac’s start up disc, probably called Macintosh HD or Home
- Click on Erase.Wait for your startup disk to be formatted.
- Go back to the main Utilities menu and choose Install macOS.
- Choose your startup drive as the location to install macOS.
Once installation is complete, setup the new machine, and move to next step.
Modify System Settings
MacBooks aren’t meant to stay on all the time, so you’re going to have to modify the power settings. This will keep the computer from sleeping and if you’re following the guide with a laptop, this will allow you to close the lid without putting the computer to sleep.
Make sure to turn the display off manually using the brightness settings, so you don’t ruin the computer’s screen.
Power Settings To Prevent Sleep
- Open Terminal
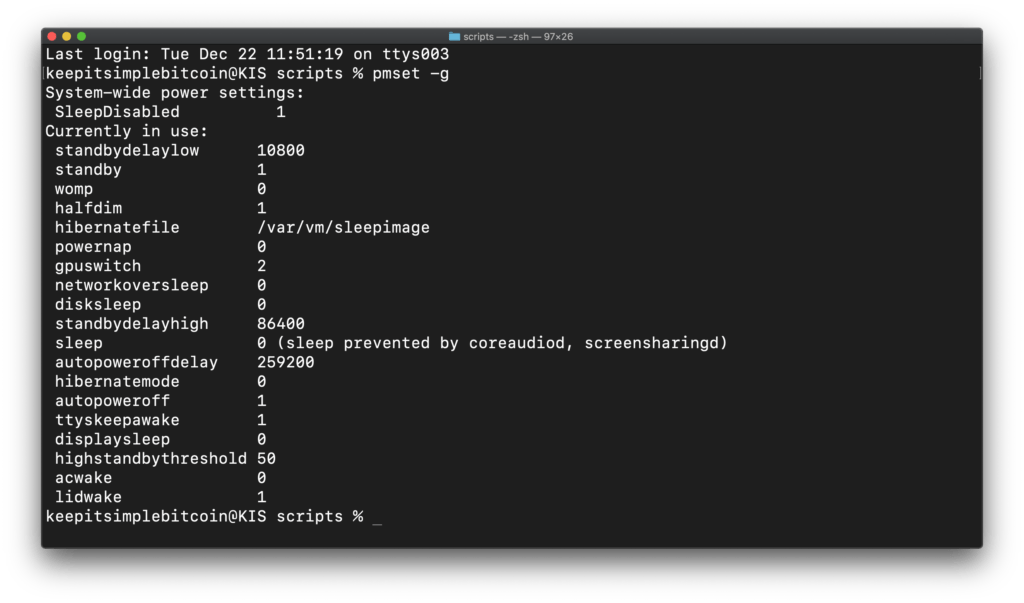
- Use command
pmset -gto view current power settings.
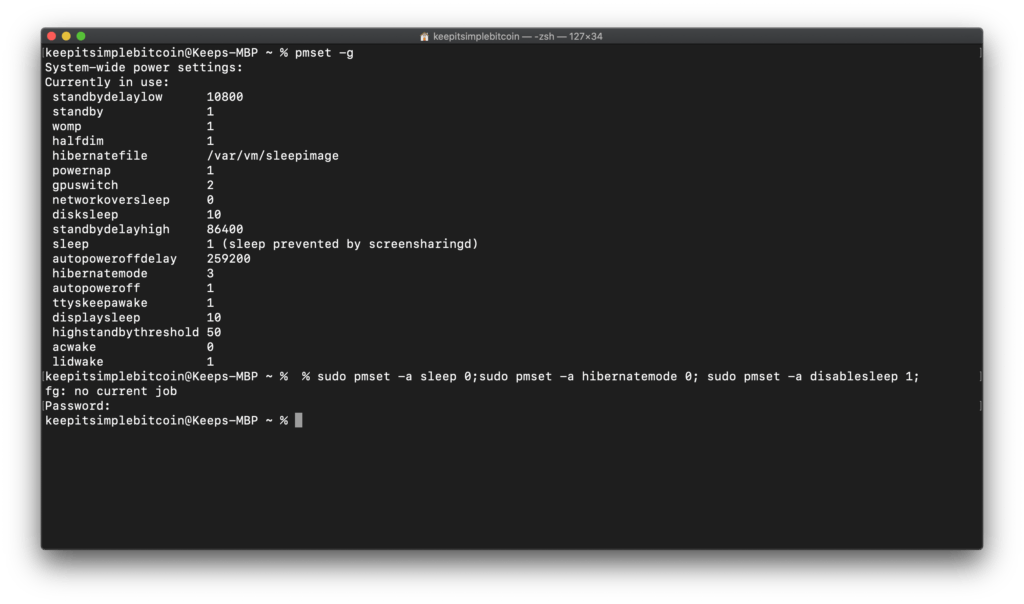
- Use command(s)
sudo pmset -a sleep 0; sudo pmset -a hibernatemode 0; sudo pmset -a disablesleep 1;The Macbook will now always stay on, even with the lid closed. Make sure you store the computer somewhere with air flow so the computer doesn’t overheat.
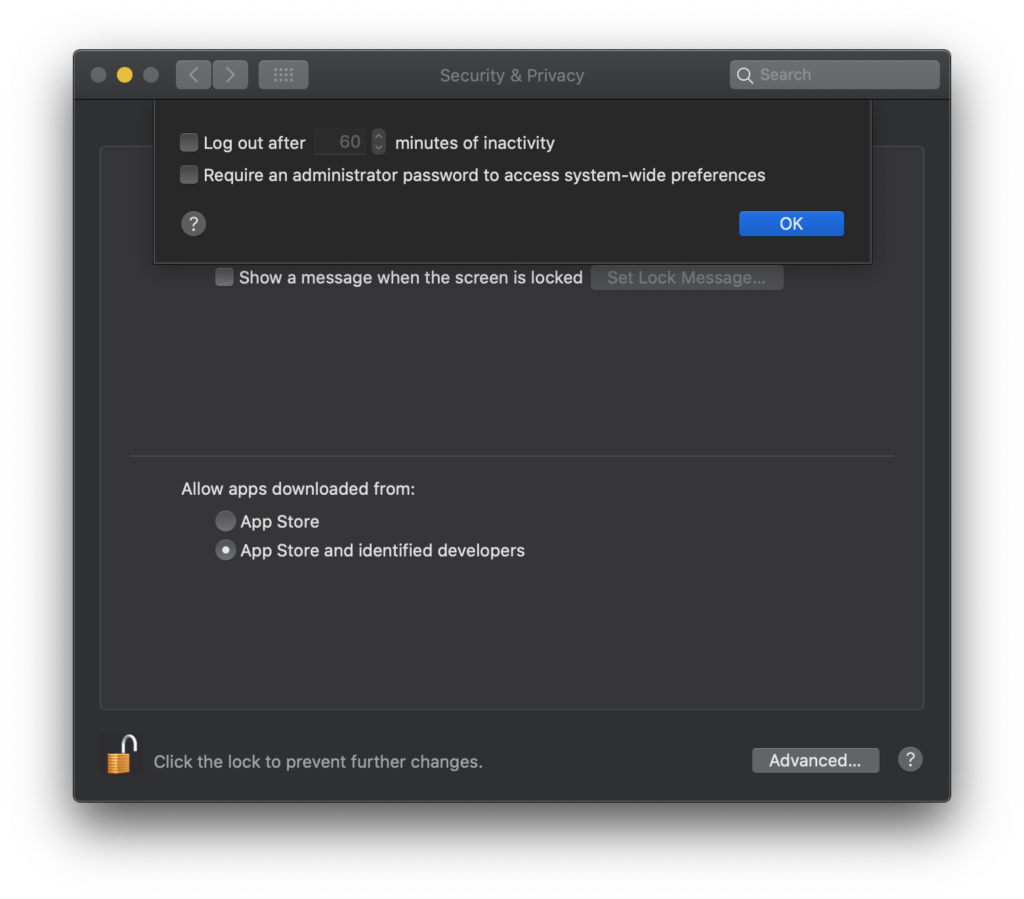
Turn Off Auto Log Out
Even if the computer doesn’t sleep, you may not want it to log out and disturb any running applications.
- Go to System Preferences > Security & Privacy.
- Click Advanced.
- Confirm “Log out after… minutes of inactivity” is not selected.
Setup Remote Access (LAN ONLY)
We want to be able to access this MacBook from our primary computer. You can easily set this up using the screen sharing option in System Preferences.
This will work seamlessly with other Macs or you can use any VNC software to control the screen from a Windows or Linux computer.
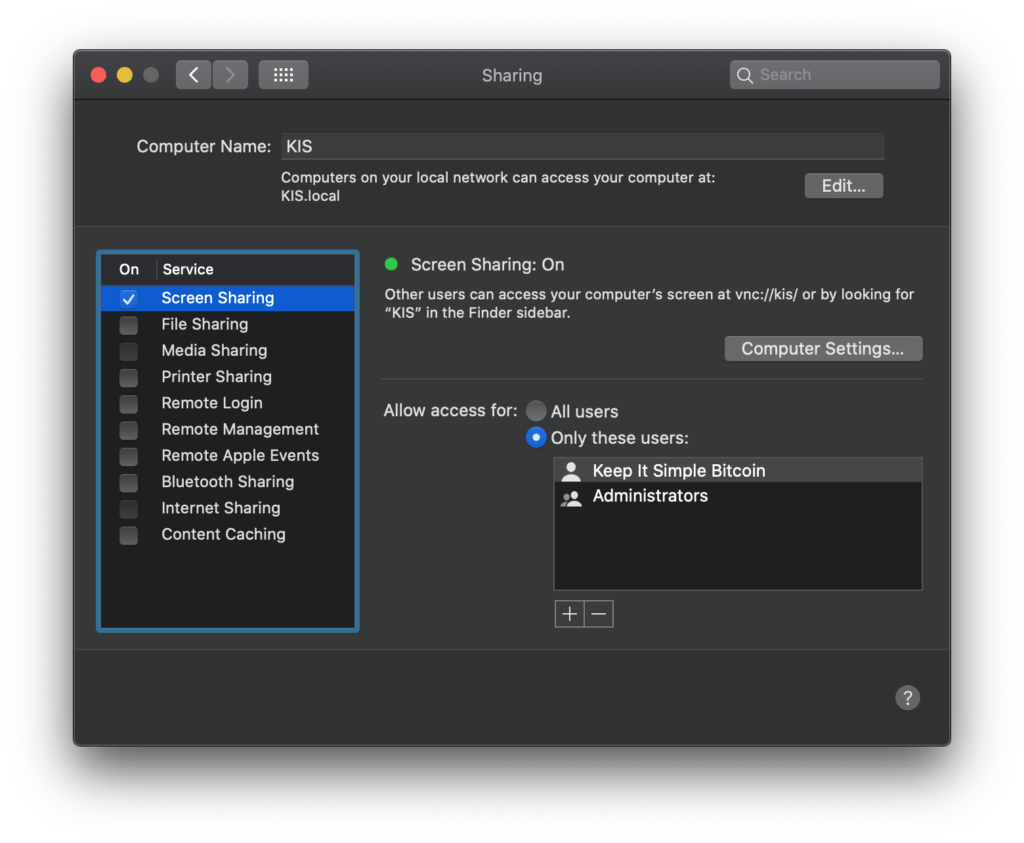
Screen Sharing on MacBook
- Go to System Preferences > Sharing
- Select Screen Sharing
- Choose what kind of access is permitted. You want to allow access by same user as on MacBook.
Access Macbook from another Mac
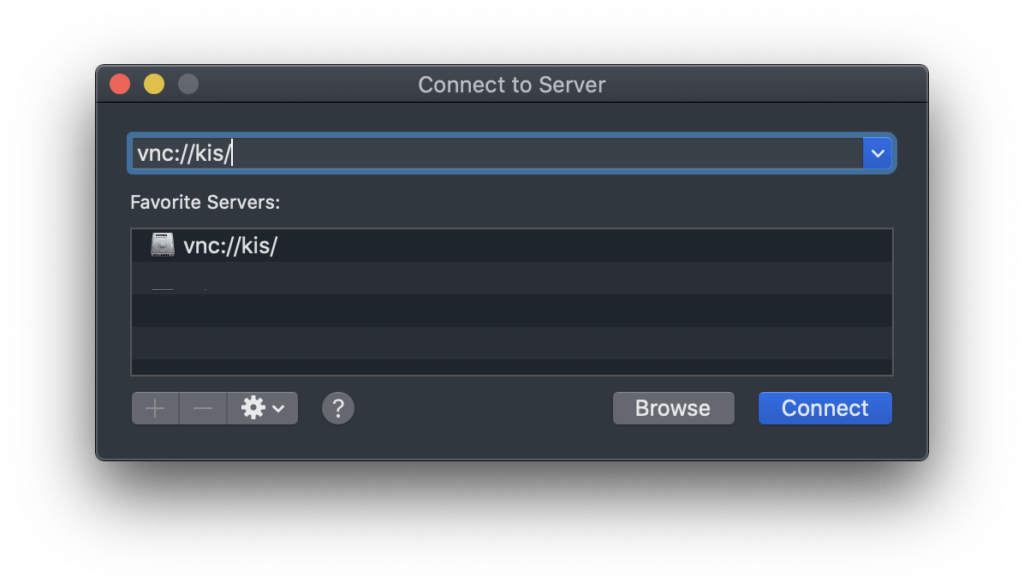
We need to be able to log into the MacBook from our primary computer. The computer should pop up in the network folder in Finder. You can also manually connect by
- Open Finder Window
- Select Go > Connect to Server or Press
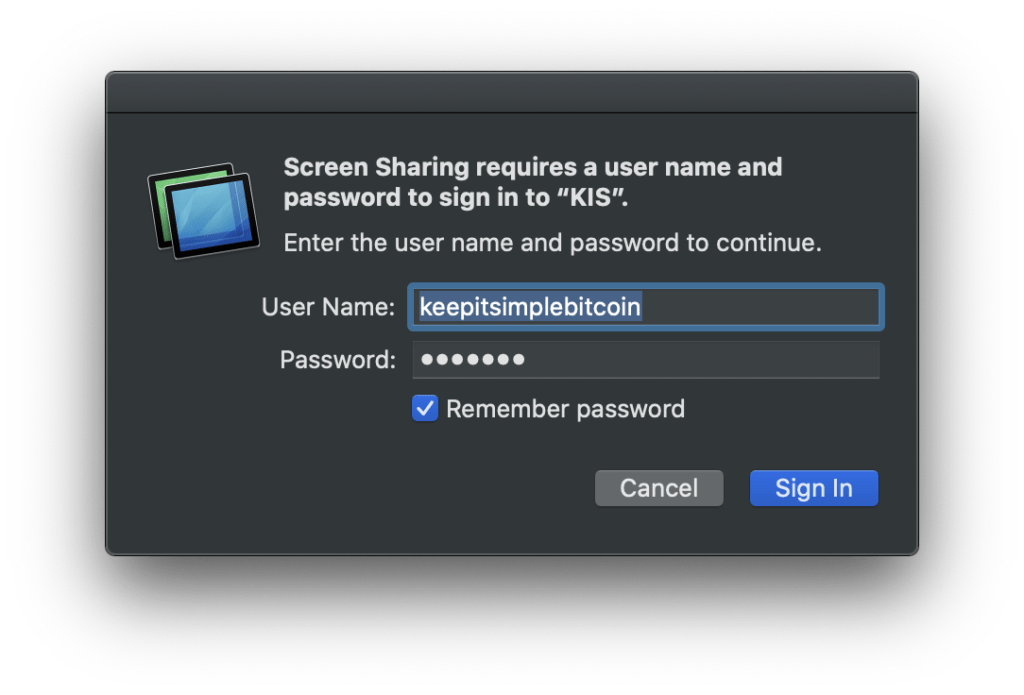
⌘Command K - Enter the VNC url provided during screen sharing setup. Mine is vnc://kis/
- Enter User Name & Password to sign in.
Installing Bitcoin Applications
Finally we get to the fun part.
Every Bitcoin machine revolves around Bitcoin Core, ideally running as a full archival node. The purpose of the 1TB storage space is to store the entire Bitcoin blockchain on disk.
First things we need to install on this MacBook will be Bitcoin Core and Tor.
Install guides linked below.
What Every Bitcoin Machine must have

Once Bitcoin Core is setup, you can begin installing other software that interacts with Bitcoin.
What you install will be unique to your work flow. I’ll outline below how I use my repurposed MacBook.
What I'm Using
joinmarket

Bisq
Bisq is a peer-to-peer trading network, where you can trade fiat for Bitcoin. It’s software you run on your own hardware, not a website run by someone else. It’s open-source and community-driven.
Specter Wallet
Specter has transitioned into my preferred desktop wallet, because of its versatility and user interface.
Specter is a full featured Bitcoin wallet that uses Bitcoin Core as its backend.

More Bitcoin Applications You Can Install
Advanced Privacy
Due to the nature of macOS, there are many outgoing calls to Apple servers for various system process. The only way to stop these are with a software or hardware based firewalls.
The best software firewall for macOS is Little Snitch, this isn’t free software, but well worth the money.
You can also use hardware firewalls to block specific outgoing connections. This is the most robust option, but requires financial investment in hardware and time investment setting up the firewall rules. I recommend pfsense for open source hardware firewalls.

